Lace front wigs have become a game-changer in the beauty industry, providing an effortless way to switch up your look while protecting your natural hair. Many of us spend hours watching videos on TikTok and YouTube, from Marvella’s tutorials to Ekane’s guides, trying to master the art of flawless wig installation.
Thanks to advancements in wig-making, many companies now offer pre-bleached, pre-plucked, and glueless wigs, making installation more beginner-friendly. If you’re looking for a stress-free option, ready-to-wear glueless wigs are perfect for those who want a polished look without the hassle.
However, if you’re eager to learn and achieve a professional finish yourself, this guide will help you master lace front wig installation. From prepping the wig to styling it like a pro, follow the step-by-step process below.
How To Put On A Lace Wig - Step By Step
Step 1: Prep the Wig
Every flawless installation starts with prepping the wig. Whether you’re using a closure wig or a frontal lace wig, this step ensures the wig blends seamlessly with your scalp.

First you Bleach the Lace
Lace knots can appear visible and unnatural, especially on lighter skin tones. Bleaching them makes the lace transparent, allowing it to mimic your natural scalp.
What You’ll Need:
- Bleaching powder
- 30-volume developer
- Mixing bowl and brush
- Purple shampoo or baby shampoo
How to Bleach Knots:
- Turn the wig inside out to expose the lace.
- Mix bleaching powder and developer in a bowl to form a thick, creamy paste.
- Gently apply the mixture to the lace, ensuring it doesn’t seep into the hair roots.
- Let it process for about 20 minutes. Check regularly to avoid over-bleaching.
- Rinse thoroughly with cool water and shampoo the lace using purple or baby shampoo to tone down any brassiness.
Pro Tip: If you accidentally over-bleach the knots, use a root touch-up spray or hair dye to correct the color.
Customize the Hairline
Customizing the lace hairline gives the wig a natural appearance. This involves plucking excess hairs to create a softer, more realistic look.
Steps to Pluck the Hairline:
- Secure the wig on a wig stand or mannequin head.
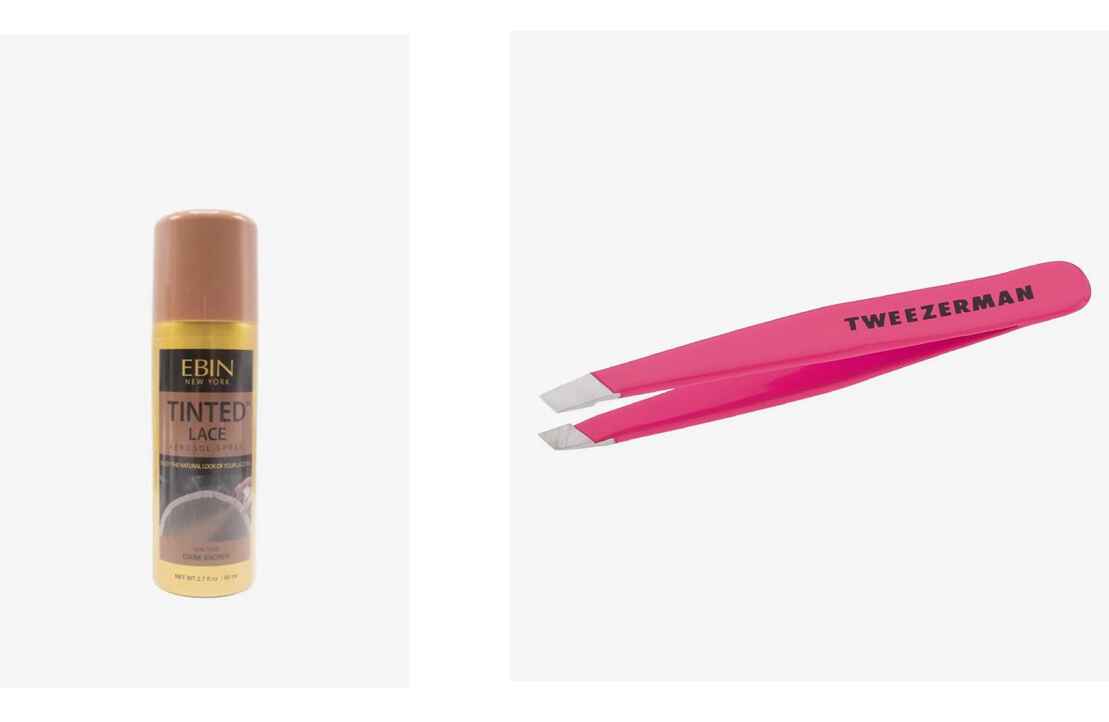
- Use tweezers to pluck small sections of hair along the hairline.
- Pluck in a zigzag pattern, removing a few strands at a time. Avoid over-plucking, as this can lead to bald spots.
- For a salon-quality finish, part the hair into rows and repeat the plucking process along the parts.
Tint the Lace
Even after bleaching, the lace may not perfectly match your skin tone. Tinting the lace ensures a flawless blend.
How to Tint the Lace:
- Use a lace tint spray that matches your skin tone and apply it evenly across the lace.
- Alternatively, use your foundation or powder with a makeup brush for a quick fix.
Pro Tip: Set the tint with a blow dryer or light hairspray to prevent transfer onto your scalp.
Step 2: Prep Your Hair
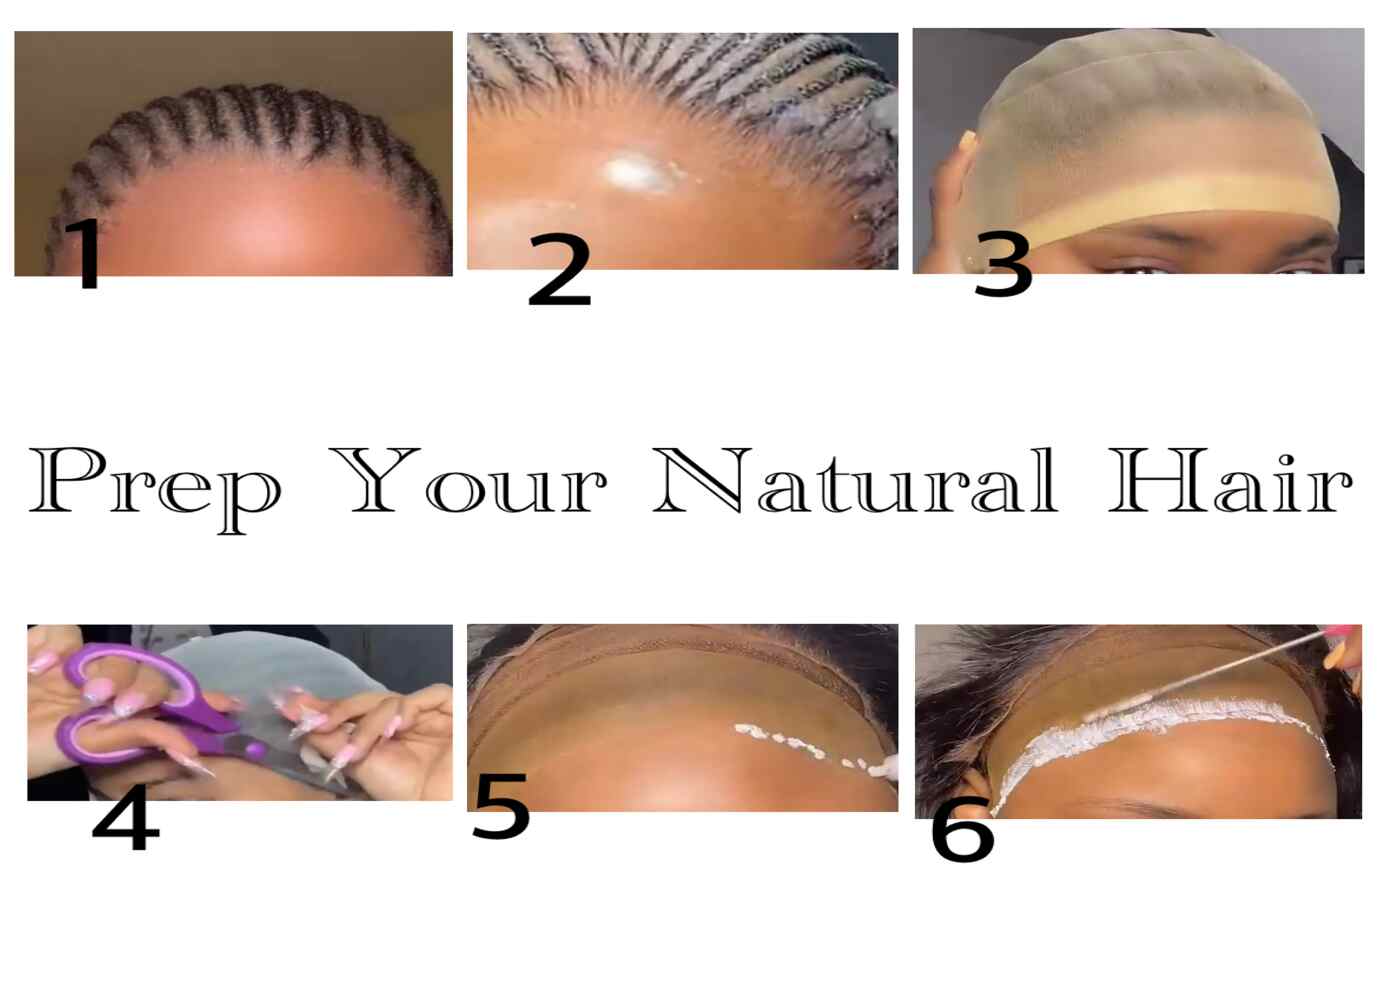
Your natural hair plays a significant role in how well your wig installation turns out. Prepping it correctly ensures a smooth, secure base for the wig.
Braid Your Hair
Cornrowing your natural hair is the best way to create a flat foundation. If you’re unable to braid, slicking your hair back into a low bun can also work.
Steps to Secure Your Hair:
- Create neat, small cornrows that lay flat against your scalp.
- Tie the ends of the braids together at the back of your head.
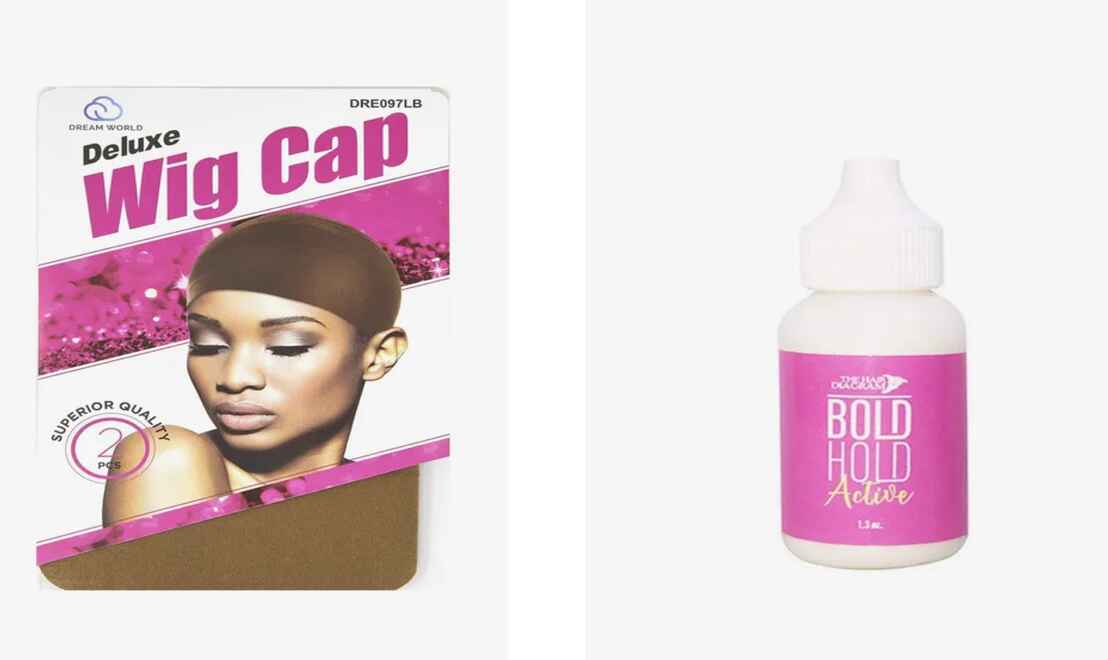
- Put on a wig cap that matches your skin tone. If the cap is too light or dark, tint it using foundation or lace spray.
Pro Tip: If you have short hair, use a gel or edge control to smooth it back under the wig cap.
Cleanse Your Skin
To ensure the adhesive sticks properly, clean your hairline with an alcohol pad. This removes oil, makeup, and skincare products that might interfere with the glue.
Step 3: Install the Wig
Now that your wig and hair are prepped, it’s time for the most exciting part—installing the wig!
Apply Adhesive
Choosing the right adhesive is crucial for a secure and lasting hold.
How to Apply Glue:
- Dot a strong-hold adhesive along your hairline. Avoid placing it on your natural hair to prevent damage.
- Use the tip of a makeup brush to spread the glue evenly.
- Use a blow dryer on a cool setting to make the glue tacky.
- Repeat this process 2–3 times to create multiple layers for extra hold.
Pro Tip: If you prefer a less permanent solution, use Got2b Freeze Spray or Ebin Wonder Lace Bond instead of glue.
Attach the Wig
- Carefully position the wig so the lace aligns with your hairline.
- Press the lace into the adhesive using a comb, ensuring there are no air bubbles or gaps.
- Tie a scarf or melting band around the hairline and let it set for 10–15 minutes.
Cut the Lace
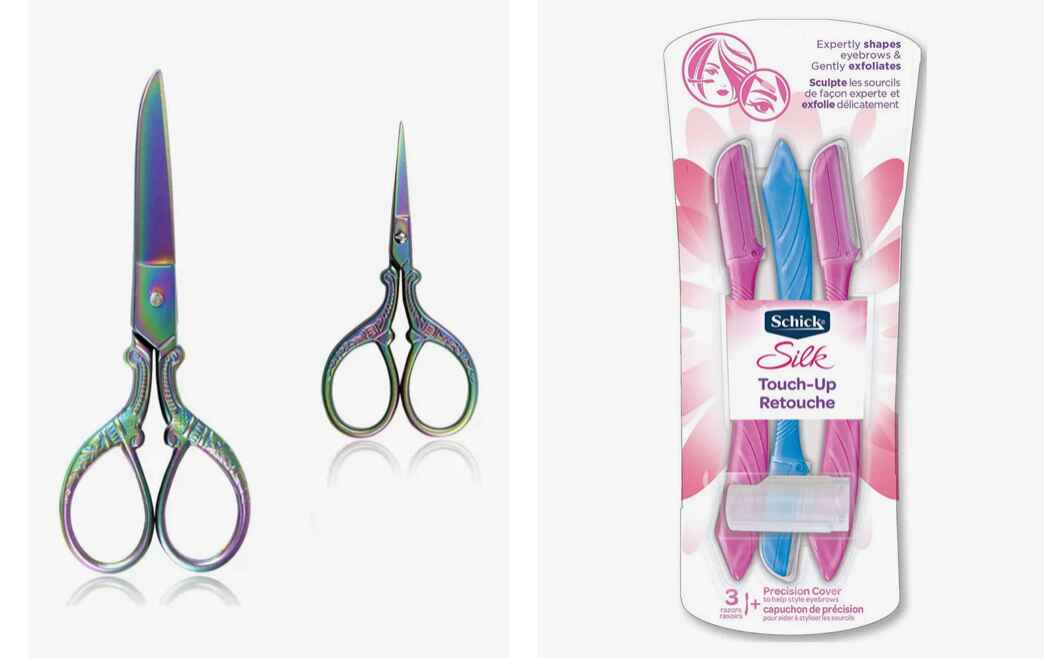
After the adhesive has set, it’s time to cut off the excess lace.
How to Cut the Lace:
- Use small scissors or a razor to cut in a jagged pattern. This creates a natural hairline effect.
- Cut in sections for better control and precision.
Melt the Lace

The melting process blends the lace into your skin for a seamless finish.
- Spray a melting spray, like Got2b or Ebin, along the hairline.
- Use a tail comb to press the lace down gently.
- Blow-dry on a cool setting while tying down the hairline with a satin scarf for a polished look
Step 4: Style the Wig
Styling your wig is the final step in achieving a flawless look.
Press the Hairline Use a hot comb to define the part and flatten the roots, giving the wig a sleek, natural appearance.
Customize Baby Hairs
Baby hairs add a finishing touch to your wig installation.
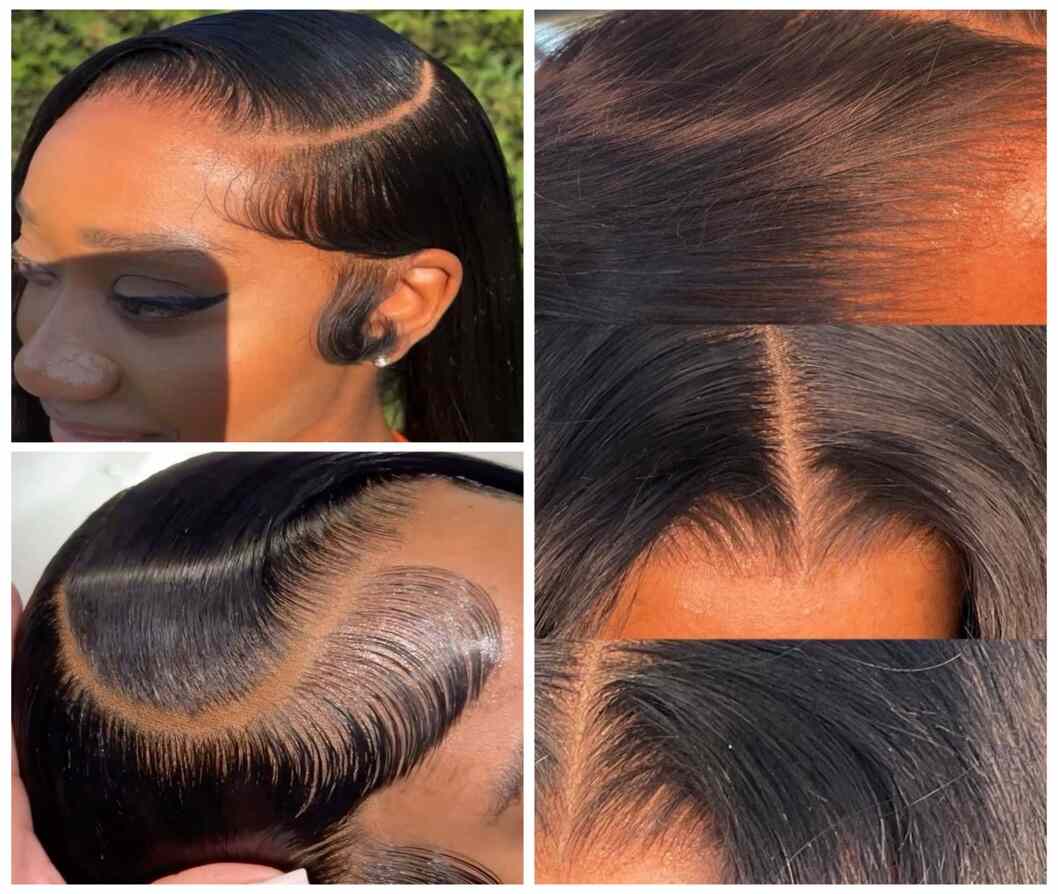
Steps to Lay Baby Hairs:
- Trim small sections of hair along the perimeter to about ¾ inch.
- Apply mousse or edge control to style them into soft curls or swoops.
- Tie down the baby hairs with setting paper and set with a blow dryer.
Add Finishing Touches
- Use a curling iron or flat iron to style the wig as desired.
- For synthetic wigs, check the heat resistance level before using hot tools.
Frequently Asked Questions (FAQs)
How long does a wig installation last?
With proper adhesive and maintenance, a lace front wig can stay secure for up to a week. Glueless wigs typically last for a day or two.
Can beginners install lace front wigs?
Absolutely! Pre-plucked and glueless wigs are beginner-friendly and require minimal effort to install.
How do I care for my wig?
Store your wig on a wig stand when not in use, wash it every 8–10 wears, and avoid excessive heat styling to extend its lifespan.
What’s the best adhesive for sensitive skin?
Choose adhesives labeled hypoallergenic or safe for sensitive skin, like Ghost Bond Platinum or Bold Hold Active.
How can I make my wig look more natural?
Customize the lace by bleaching the knots, tinting the lace to match your skin tone, and plucking the hairline for a softer, natural look. Adding baby hairs and styling the wig also helps enhance its realism.
Expert Tips for Perfect Wig Installation
-
High-quality lace wigs, especially those made with virgin human hair, look more realistic, last longer, and are easier to style.
-
If you’re new to wig installation, start with older or practice wigs before working with premium ones. Mastery takes time!
-
For a glueless option, a wig grip can help keep your wig in place without adhesive.
-
Always apply adhesive above your hairline, not on it, to prevent breakage. Consider using a scalp protector or barrier for extra safety.
-
Essential tools like tweezers, a rat-tail comb, melting spray, and scissors make installation much easier.
-
Too much adhesive can cause buildup and make cleanup harder. Apply thin layers for a stronger, neater hold.
-
A cap that matches your skin tone ensures a seamless transition between your scalp and the wig. Tint it if necessary.
-
Use a wig stand to maintain the wig’s shape and prevent tangling. For long-term storage, keep it in a satin bag or box.
-
Maintain your wig’s shine and softness by washing it with sulfate-free shampoo and moisturizing conditioner.
Common Wigs Issues
1
The lace doesn’t match my skin tone.
Use makeup or a lace tint spray to adjust the lace color for a flawless blend.
2
The wig feels too tight or too loose.
Adjust the straps inside the wig or use a wig grip for added stability.
3
The adhesive isn’t holding.
Ensure your skin is clean and dry before applying glue. Apply multiple thin layers for stronger adhesion.
4
The hairline looks unnatural.
Pluck the hairline in small sections, avoiding harsh, straight lines. Use baby hairs to soften the look.
5
The wig is shedding excessively.
Handle your wig gently when styling and washing. Avoid over-plucking or using harsh brushes.
6
Consultation
Several salons in Montreal offer free hair consultations, giving you an opportunity to better understand your hair. They usually ask that you arrive with freshly washed, product-free hair for the appointment.


